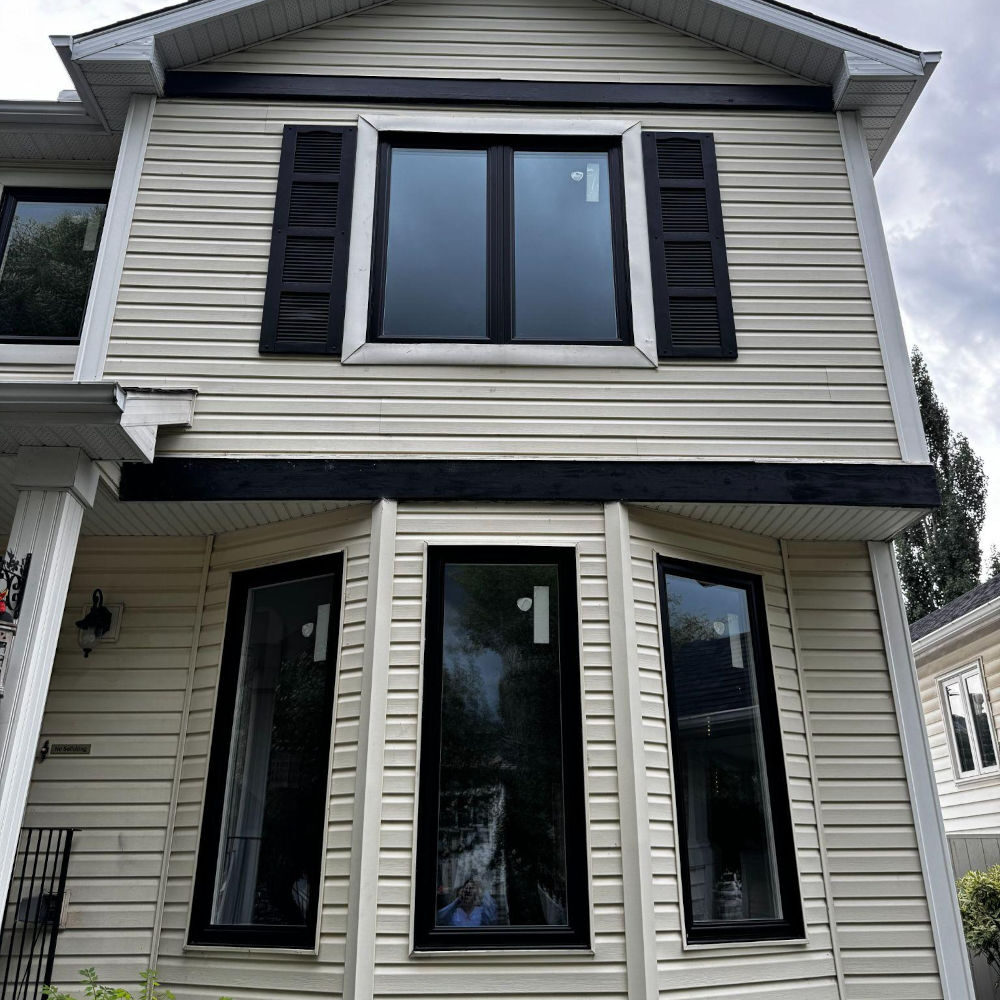

You can install a replacement window yourself when the opening is sound, the new unit is the same size, the work is safely accessible, and the manufacturer permits homeowner installation. If the project involves structural changes, hidden water damage, a heavy second-storey unit, or a full frame replacement that must reconnect the wall drainage system, professional installation is usually the safer and less expensive decision over the life of the window.
This guide explains how to decide whether the project fits your skills, measure without ordering the wrong size, prepare the rough opening, manage water and air, position and fasten the unit, and test the result. It also covers Alberta permit examples, cold-weather concerns, and installation mistakes that most often lead to drafts, leaks, difficult operation, and warranty issues.
Key Takeaways
- DIY installation is most suitable for a same-size, ground-floor replacement in a dry, square, structurally sound opening.
- Measure the actual opening required by the manufacturer, not only the visible glass, sash, trim, or drywall opening.
- A successful installation must manage water, air, insulation, structural support, and window operation simultaneously.
- Flashing must direct water outward in overlapping layers, while the interior air seal must remain continuous around the frame.
- More foam and more fasteners do not mean a better installation. Excess pressure can distort a vinyl frame and stop the sash from sealing.
- Stop and call a professional when you find rot, mould, structural movement, masonry complications, unsafe access, or a permit requirement you cannot resolve.
Why Installation Quality Matters as Much as the Window
A replacement window is not an isolated product. It is part of the wall assembly, so it must connect correctly to the exterior drainage plane, the insulated cavity around the frame, and the interior air barrier. A unit can have excellent glass and still perform poorly if any one of those connections is incomplete.
The practical consequence is simple. Installation errors show up as cold trim, moving curtains, water staining, condensation near the frame, difficult locks, and damage inside the wall long before the window itself reaches the end of its expected life.
The wall opening has five jobs
Think of the finished opening as five connected systems. The sill and flashing move water to the exterior. The fasteners and shims hold the window without forcing it out of shape. Insulation slows heat transfer around the frame. The interior seal controls the movement of air and moisture into and out of the house. The exterior joint sheds rain while allowing the assembly to drain as designed.
Natural Resources Canada explains in its Keeping the Heat In guide that windows, doors, and skylights can account for up to 35 percent of total house heat loss. The same guidance warns that poor installation can cause drafts and water leakage, even when the product itself is energy-efficient.
Why Alberta makes small errors more visible
Calgary and Edmonton place different stresses on the same installation. Calgary brings sharp temperature changes, strong wind, hail exposure, and Chinook cycles. Edmonton brings longer periods of sustained cold. In both markets, a small gap in the interior air seal or a compressed strip of insulation becomes much easier to feel when the outdoor temperature drops well below freezing.
This is also why product quality and installation quality cannot be separated. Homeowners comparing factory-direct windows should still ask exactly how the rough opening, flashing, insulation, and interior seal will be handled.
Should You Install a Replacement Window Yourself?
The right decision depends on the opening, the window, the wall finish, and the access required. Use the following comparison before buying materials, as the safest time to change the plan is before the old window is removed.
A reasonable DIY project
DIY can make sense when you are replacing a small or medium ground floor window without changing the opening. The existing frame or rough opening must be dry, stable, and free from rot, and you need enough experience to work accurately with levels, shims, flashing tape, sealants, and finish trim.
- The new unit matches the planned opening and installation method.
- The manufacturer provides instructions for the exact window model and wall condition.
- The exterior cladding can be opened and restored without improvising a drainage detail.
- Two people can lift and hold the unit safely.
- The opening can be protected quickly if weather changes.
- You can leave the bedroom window compliant with applicable escape requirements.
A project for a qualified installer
Professional installation is the better path when the project changes structure or exposes conditions you cannot inspect in advance. Large picture units, bay or bow assemblies, masonry openings, stucco repairs, upper-floor work, and full-frame removal all increase the consequences of a small mistake.
| Condition | Why it matters | Recommended path |
|---|---|---|
| Same size ground floor unit | Lower access risk and limited structural work | DIY may be reasonable |
| Rot, staining, or soft framing | The wall may need repair before a new unit can be sealed | Professional assessment |
| New or enlarged opening | Structure, permit, and bedroom escape rules may apply | Permit and professional plan |
| Second storey or heavy glass | Fall and lifting risks increase sharply | Professional crew |
| Brick, stone, or complex stucco | Drainage and exterior repair details are less forgiving | Experienced installer |
| No clear manufacturer detail | Fastening, shimming, and flashing cannot be guessed | Pause until instructions are confirmed |
Tip 1: Choose Insert or Full Frame Installation Before Measuring
The installation method determines what you measure, what you remove, and which hidden conditions you can correct. Confusing an insert with a full-frame replacement is one of the fastest ways to order the wrong size or to cover an existing moisture problem.
Insert installation
An insert places the new unit inside an existing sound frame. It creates less disturbance to the surrounding wall and trim, but it also reduces the glass area and leaves the original frame and its connection to the wall in place. Use an insert only when the retained frame is square, dry, solid, insulated, and properly sealed.
Full frame installation
A full-frame project removes the entire window assembly to expose the rough opening. This gives access to damaged framing, old insulation, and the wall connection, but it requires a complete plan for sill drainage, flashing, interior air sealing, exterior finish, and trim. If you discover black staining, soft wood, mould, or insect damage after removal, stop and identify the source before installing the new unit.
Tip 2: Check Permits, Bedroom Escape, and Warranty Conditions
Rules vary by province, municipality, building type, and project scope. A same-size replacement is often treated differently from a new or enlarged opening, and a bedroom window may have additional escape requirements even when the homeowner is doing the work.
Use local rules, not a national assumption
For example, the City of Calgary’s renovation guidance states that a permit is not required for replacing a window without changing the opening size, window type, or operation. Adding a window or enlarging an opening requires a building permit, and a structural review may also be required for certain foundation wall conditions. Edmonton has its own process, so confirm the current rule with the authority that governs your address before ordering.
Read the product warranty before the wall is opened
Some manufacturers require installation by an approved or knowledgeable professional, and most require exact fastening, support, clearance, flashing, and sealant details. Keep the installation manual, product labels, order confirmation, and photos of the rough opening and flashing layers. These records help if a performance or warranty question appears later.
Tip 3: Measure the Correct Opening Three Times
Accurate measurement is more than repeating the same number. You must know which surfaces will remain after removal, measure at multiple points, and record whether each dimension belongs to the frame opening, the rough opening, or the finished wall.
Measure width and height at three points
Measure width at the top, centre, and bottom. Measure height at the left, centre, and right. Record every result rather than only the smallest number, because the pattern tells you whether the opening narrows, twists, or settles in one corner. Follow the window manufacturer’s ordering instructions for the final deduction and the required installation clearance, as these vary by product and installation method.
Do not measure the glass or interior trim
Visible glass, sash size, casing, and drywall returns do not define the order size. For an insert, identify the exact frame surfaces that remain. For a full-frame project, the rough opening may not be visible until the trim is removed, which is why an exploratory trim removal can be worth doing before finalizing the order.
Label every opening
Give each opening a room name, wall direction, floor, width, height, operating style, interior finish, exterior finish, and opening direction. Photograph the inside and outside with the label visible. This prevents a right-opening unit from arriving for a left-opening location and makes it easier to match accessories, trim, and screens when several windows arrive together.
Tip 4: Check the Opening for Square, Level, Plumb, and Depth
A window can fit the width and height but still fail because the opening is racked or too shallow for the selected frame. These checks reveal whether the unit can sit in its designed plane without forcing the frame or creating an impossible exterior finish.
Compare the diagonals
Measure from the upper left corner to the lower right corner, then from the upper right to the lower left. A difference means the opening is out of square. Small variations may be accommodated with the installation gap and shims, but the acceptable tolerance must be specified by the manufacturer. A large difference can point to framing movement that should be assessed before the project continues.
Check the sill and side jambs
Place a level across the sill and against both sides. Also check whether the wall surface is flat or bowed. Record the available frame depth from the interior finish to the exterior drainage plane, including any extension jambs or trim returns that will be needed. Do not plan to correct a badly sloped structural sill by forcing the window frame to follow it.
Tip 5: Stage the Tools, Materials, and Weather Plan
Once the old unit is removed, the home has an open wall. Arrange all tools and materials before starting, and choose a day that provides enough dry, calm working time to inspect, install, flash, and close the opening without rushing.
Core tools
- Tape measure, level, square, pencil, and durable opening labels
- Manufacturer-approved fasteners and the correct driver bits
- Flat bars, utility knife, oscillating tool, and trim removal tools
- Shims that are compatible with the window and wall materials
- Caulking gun, rollers for flashing tape, and clean cutting tools
- Drop sheets, temporary weather protection, and a protected storage area for the new unit
Materials must work as a system
Confirm the sill pan or sill membrane, flashing tape, primer (when required), backer rod, sealant, low-expansion window and door foam, interior air-sealing material, exterior trim, and corrosion-resistant fasteners. Compatibility matters. A sealant may adhere poorly to a particular membrane, a flashing tape may require primer in cold conditions, and standard expanding foam may apply too much pressure to a vinyl frame.
Tip 6: Plan Safe Access and Lifting
Glass is heavy, awkward, and difficult to recover once it starts to tip. Plan the lift with at least two capable people, clear the travel path, protect the glass edges, and never rely on a window frame or temporary shim as a handhold.
Treat upper floor work as a separate risk
For ladder work, follow the manufacturer’s instructions and recognized safety guidance. The CCOHS portable ladder guidance calls for firm, level footing and the 4-to-1 setup rule. A ladder still does not provide a stable platform for controlling a large window with both hands, so upper floor replacement is normally a job for a properly equipped crew.
Tip 7: Remove the Old Unit Without Destroying the Evidence
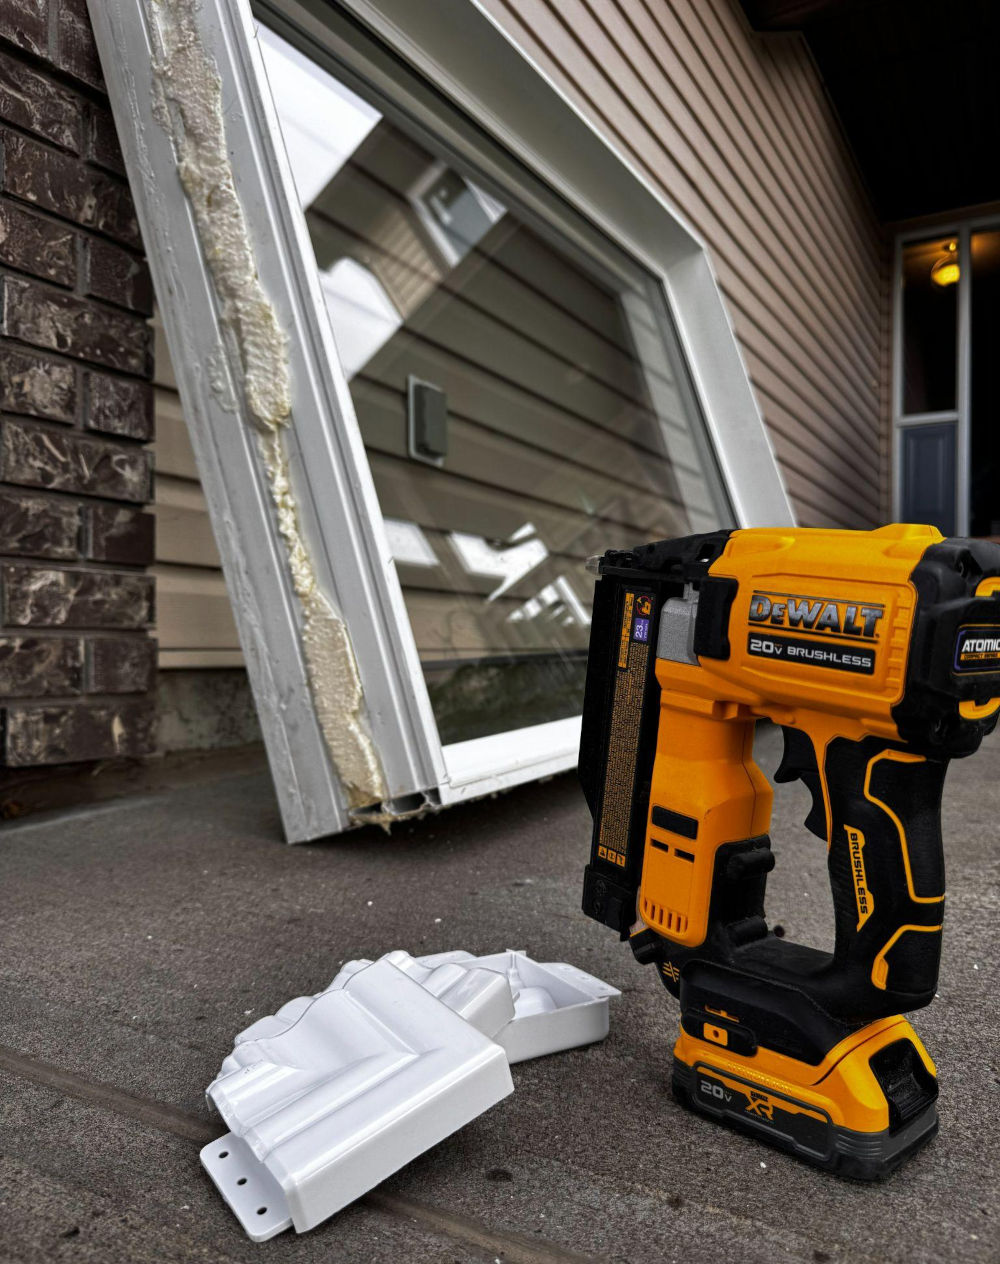
Slow removal gives you information about how the old opening failed. Cut finishes in controlled sections, support the sash and frame as they are released, and preserve enough of the flashing and seal layers to see where water and air were intended to travel.
Inspect before cleaning everything away
Look for dark staining at the lower corners, rusted fasteners, damp insulation, cracked sheathing, compressed foam, missing sill support, insect activity, and gaps in the interior seal. Photograph each condition. If the framing is wet, determine whether the source is exterior water, interior condensation, plumbing, or another building issue before covering it.
“On Alberta homes, the most useful moment is often just after the old frame comes out. A dry sill and continuous wall layers allow the job to continue, but staining at one lower corner usually means the new window needs more than just fresh caulking. That water path has to be found before the opening is closed again.” Chris Perry, Project Manager at Weather Pro Windows and Doors
Tip 8: Build a Sill That Drains to the Exterior
The bottom of the opening is the last place to improvise. Any water that reaches the window perimeter must have a continuous path out, and the sill detail must protect the lower corners where leaks most often collect.
Follow the approved sill detail
Use the sill pan, membrane, corner patches, end dams, back dam, and slope required by the manufacturer and applicable construction detail. Roll self-adhering membranes firmly, use primer when required, and remove wrinkles or fish mouths that can channel water sideways. Do not create an untested combination of tape, house wrap, caulk, and foam because each material happened to be available.
Keep drainage routes open
Do not block factory weep holes, drainage cavities, or the designed exit path at the bottom of the assembly. Exterior sealant is not a substitute for flashing. A thick, continuous bead in the wrong location can trap water inside the wall, even if the joint looks neat from the outside.
Tip 9: Dry Fit, Shim, and Support the Window Correctly
A dry fit confirms size, clearance, frame depth, exterior alignment, and access to fastening points before sealants make the decision permanent. Remove the unit after the check, correct the opening, and then set it into the prepared sill according to the product instructions.
Put support where loads occur
Place shims at the locations specified by the manufacturer, commonly near corners, fastening points, mullions, and load-bearing points. Shims should support the frame without twisting it. Do not pack every gap tightly, and do not rely on foam as structural support.
Recheck after every adjustment
Confirm level at the sill, plumb at both jambs, square through the diagonals, and consistent reveal around the sash. Operate and lock the window before final fastening. A sash that moves smoothly when the frame is loose can bind after a single shim or screw change alters the geometry.
Tip 10: Fasten Through the Approved Locations
Fasteners transfer loads to the building and help the frame hold its shape, but only when they are placed and tightened correctly. The installation manual controls fastener type, length, spacing, penetration, and approved frame locations.
Do not use screws to pull a frame into shape
If the opening forces the frame to bow, correct the opening or shim plan. Driving a fastener harder can distort vinyl, pinch an operating sash, break a welded corner, or create a low point where water collects. Tighten only enough to secure the frame while preserving its designed geometry.
Check operation during fastening
After each side is partly fastened, open, close, and lock the unit. Watch the gap between the sash and the frame, check that the locks engage without force, and confirm that the reveal stays even. Complete the fastening sequence only when the operation remains consistent.
Tip 11: Flash in Overlapping Layers and Seal the Interior
Flashing and air sealing solve different problems. Exterior layers shed bulk water outward, while the interior seal limits warm indoor air from reaching cold surfaces in the wall cavity. Both must connect continuously to the surrounding wall system.
Work from the bottom upward
Apply the bottom detail first, then the sides, then the head flashing so each upper layer overlaps the layer below. Integrate the sequence with the existing drainage plane rather than taping only to the window frame. At the head, water must be directed over the window and out, not behind the membrane or trim.
Insulate without bowing the frame
Fill the perimeter gap with the material approved for the product and opening. Low-expansion window and door foam can work well when applied in controlled lifts, while backer rod and sealant may be appropriate for other gaps. Avoid dense packing or ordinary high-expansion foam, and keep checking the frame as the material cures.
Complete the interior air seal
Create a continuous interior connection between the window frame and the wall air barrier using the specified sealant, tape, membrane, or approved foam detail. Pay particular attention to corners and intersections where existing polyethylene or smart membranes are present. Exterior caulking alone cannot prevent warm indoor air from entering the opening during an Alberta winter.
Tip 12: Test the Window Before Installing the Final Trim
Testing before trim gives you access to correct a problem. Once the casing and exterior finish are complete, a missed gap or poor fastening point becomes slower and more expensive to reach.
Run an operation and lock test
Open and close every sash several times. Confirm smooth travel, full lock engagement, even compression at the seals, and a consistent gap around the operable panel. Check screens, limit devices, handles, and drainage openings. A window that needs force on installation day will not improve after the finishes are installed.
Inspect the water path and air seal
Verify that the head and side flashing overlaps are complete, the sill can drain, and no weep route is blocked. From inside, inspect the perimeter for visible gaps before trim. After the first wind-driven rain and again during the first cold period, check the sill, lower corners, trim, and wall below for moisture, staining, or air movement.
Keep a simple installation record
Save product labels, serial numbers, measurements, manual pages, dated photos, sealant and membrane names, and warranty documents for each opening. If a problem arises later, this record helps distinguish a product issue from an installation detail and provides a contractor with a much faster starting point.
Common DIY Window Installation Mistakes
Most failed installations are not caused by one dramatic mistake. They come from several small shortcuts that interrupt drainage, distort the frame, or leave the air barrier incomplete. These are the patterns to prevent.
Ordering before the installation method is confirmed
A homeowner measures the visible opening, orders the unit, and only later discovers that the retained frame is rotten or the rough opening is smaller than expected. Decide whether to insert or use a full frame first, then measure the surfaces that will actually receive the new window.
Using caulking as the entire water strategy
Caulking is exposed to movement, sunlight, temperature, and surface contamination. It is a maintenance joint, not the primary drainage plane. The flashing and sill system should manage water even if the exterior sealant eventually needs service.
Blocking the sill with foam or sealant
A neat continuous bead can accidentally close the only drainage exit. Follow the product detail at the sill and preserve every weep and drainage path. If the instructions show an unsealed section or a specific gap, do not fill it, as it will look unfinished.
Overtightening fasteners and overfilling foam
Vinyl frames need support without distortion. Too much screw pressure or expanding insulation can bow a jamb by only a few millimetres, but that is enough to change sash contact and lock alignment. Check the unit repeatedly while fastening and during foam application.
Closing the wall before the opening is dry
New trim can hide damp insulation and stained framing, but it cannot stop the damage. Dry the assembly, identify the source, replace unsound materials, and confirm the repair before covering the opening. When the source is unclear, a building envelope or moisture professional should assess it.
Ignoring cold weather product limits
Flashing tapes, primers, sealants, and foams have application temperature and surface requirements. Cold, frost, dust, or moisture can prevent adhesion even when the material appears to stick initially. Store products as directed, prepare the substrate, and postpone the job if conditions fall outside the manufacturer’s instructions.
How Canadian Weather Changes the Installation Plan
The same basic water and air principles apply across Canada, but climate changes the timing, product selection, and failure risk. Alberta homeowners should plan for both deep cold and rapid weather changes rather than treating the opening like an indoor carpentry project.
Cold temperatures reduce the margin for error
A small air leak may be hard to notice in mild weather, then become obvious when warm indoor air meets a surface cooled by minus 25-degree weather. Interior air sealing must be continuous, especially at corners, shim locations, and transitions to older wall membranes. The goal is not simply to fill the cavity but to control where air and moisture can move.
Wind changes water exposure
Wind can push rain and melting snow into joints that appear protected under calm conditions. Head flashing, side laps, end dams, and the connection to the wall drainage plane matter most on exposed elevations. Exterior trim should shed water, not create a shelf that holds it against the frame.
Temperature swings move materials
Calgary chinook cycles can move vinyl, wood, metal, sealants, and cladding at different rates. Edmonton’s sustained cold keeps joints contracted for longer periods. Use compatible materials, preserve the clearances required by the manufacturer, and avoid rigid sealant shapes that cannot accommodate movement.
What Professional Installation Should Include
A professional quote should make the scope clear rather than hide everything under a single installed window price. This lets a homeowner compare the real work with the materials, equipment, time, and risk of a DIY project.
Scope to confirm in writing
- Final measurement and confirmation of insert or full frame installation
- Protection of the room and a weather plan for the open wall
- Removal scope and whether disposal is included in the quoted price
- Inspection and repair allowance for the exposed rough opening
- Sill drainage, flashing, insulation, and interior air sealing method
- Interior casing, extension jambs, exterior trim, caulking, and finish expectations
- Product warranty and a separate written workmanship warranty
- Operation check, cleanup, documentation, and the process for reporting a concern
Use an estimate to compare risk, not only labour
An experienced window replacement contractor brings lifting equipment, exterior access, opening protection, product-specific fastening knowledge, and responsibility for the finished wall connection. Those items are valuable even if a homeowner already owns common carpentry tools.
For homeowners who decide the project exceeds a safe DIY scope, Weather Pro provides access to professional window installers and offers a free, no-obligation in-home estimate within 50 kilometres of Calgary or Edmonton. Eligible new customers with a minimum of 3 windows or 2 doors can also ask about current savings of 30 to 40 percent on a full project, a factory rebate of 180 dollars per opening up to 3,960 dollars, and Financeit options on approved credit. Offer terms are valid for 30 days and should be confirmed at the estimate.
If the renovation also includes exterior doors, assess those openings separately. Door thresholds, loads, security hardware, and water details create a different installation scope even when the wall finishes look similar.
The Bottom Line on DIY Window Installation
DIY window installation is possible, but the project is successful only when the finished opening performs as part of the wall. A square frame and neat trim are not enough. The sill must drain, flashing must overlap correctly, the perimeter must be insulated without distortion, the interior air seal must be continuous, and the window must open, close, and lock without force.
A same-size ground-floor replacement in a dry, stable opening can be a reasonable project for an experienced homeowner who follows the product instructions exactly. Rot, structural changes, unsafe access, complex cladding, large glass, unclear permit requirements, or a missing wall detail are signals to stop. Paying for the right scope once is usually less costly than repairing hidden water damage or replacing a window that never performed as designed.
Frequently Asked Questions
Can I install a replacement window myself in Canada?
Yes, if the project is safely accessible, the opening is structurally sound, the new unit fits the existing opening, and the manufacturer allows homeowner installation. Local permits and bedroom escape rules still apply, and full-frame or upper-floor work often warrants a professional crew.
Do I need a permit to replace a window?
Permit rules depend on the municipality and the scope. A same-size replacement often does not require a permit, while adding a window, enlarging an opening, changing structure, or altering a bedroom escape opening may require approval. Confirm your address with the authority before ordering.
How much smaller should a replacement window be than the rough opening?
There is no single deduction that fits every product. Measure the opening at three points, record the smallest dimensions and the amount of variation, then use the exact ordering clearance required by the manufacturer. Do not guess from a general online rule.
Can I use regular expanding foam around a window?
Use only a product approved for window and door gaps and follow its application limits. High-expansion foam can put pressure on a vinyl frame, bow the jambs, and affect sash or lock operation.
Should I caulk the bottom of a replacement window?
Follow the manufacturer’s sill and drainage detail. Some bottom locations must remain open so water can exit, and blocking weep holes or drainage paths can trap water in the wall. Exterior caulking should never replace sill flashing.
When should I stop a DIY window installation and call a professional?
Stop when you find wet or soft framing, mould, structural movement, a larger or smaller opening than expected, complex masonry or stucco, unsafe access, or instructions that do not match the wall. Protect the opening from weather and get the condition assessed before continuing.